In This Article
It’s a common problem, isn’t it? That feeling of a blocked ear, the slight muffling of sounds, maybe even a bit of dizziness. And when you’re dealing with it, you just want a quick fix. You’ve probably seen bulb syringes for sale online or in a pharmacy and thought, “Maybe I should give that a go.” It seems simple enough, and the idea of sorting out your earwax at home is tempting. But before you do, let’s talk about what that really involves.
What Exactly Is a Bulb Syringe?
Think of a bulb syringe as a small, rubbery pouch with a nozzle. The idea is to fill it with warm water, gently place the tip in your ear canal, and squeeze the bulb. This sends a stream of water into your ear to try and flush out the wax. It’s a method that’s been around for a while, and some people find it works for them.
How Does It Work?
The principle is straightforward: the force of the water is meant to dislodge the earwax and carry it out of the ear canal. For this to have any chance of working, the wax needs to be soft. That’s why people often use olive oil or sodium bicarbonate ear drops for a few days beforehand to soften things up. Without that softening, you’re just squirting water against a hard plug of wax, which isn’t going to achieve much.
The Risks of Going It Alone
Here’s the thing, though. While it might sound easy, using a bulb syringe at home isn’t without its risks. And honestly, some of them are quite serious. Your ears are incredibly delicate, and it’s surprisingly easy to cause damage.
Pushing the Wax Deeper
One of the most common problems is that instead of flushing the wax out, you can actually push it further into the ear canal. This can make the blockage worse and turn a relatively simple issue into a much more complicated one. The wax can become impacted, meaning it’s tightly packed and much harder to remove.
Otitis Externa (Outer Ear Infection)
If the water you use isn’t sterile, or if you don’t dry your ear properly afterwards, you can create a warm, moist environment that’s perfect for bacteria to grow. This can lead to a painful outer ear infection, also known as otitis externa or “swimmer’s ear.”
Tympanic Membrane Perforation (Burst Eardrum)
This is the most serious risk. If you use too much pressure, or if you insert the nozzle too far into your ear, you can perforate your eardrum. A perforated eardrum can be incredibly painful and can lead to hearing loss and other complications. It’s a risk that, in my opinion, just isn’t worth taking for the sake of a bit of earwax.
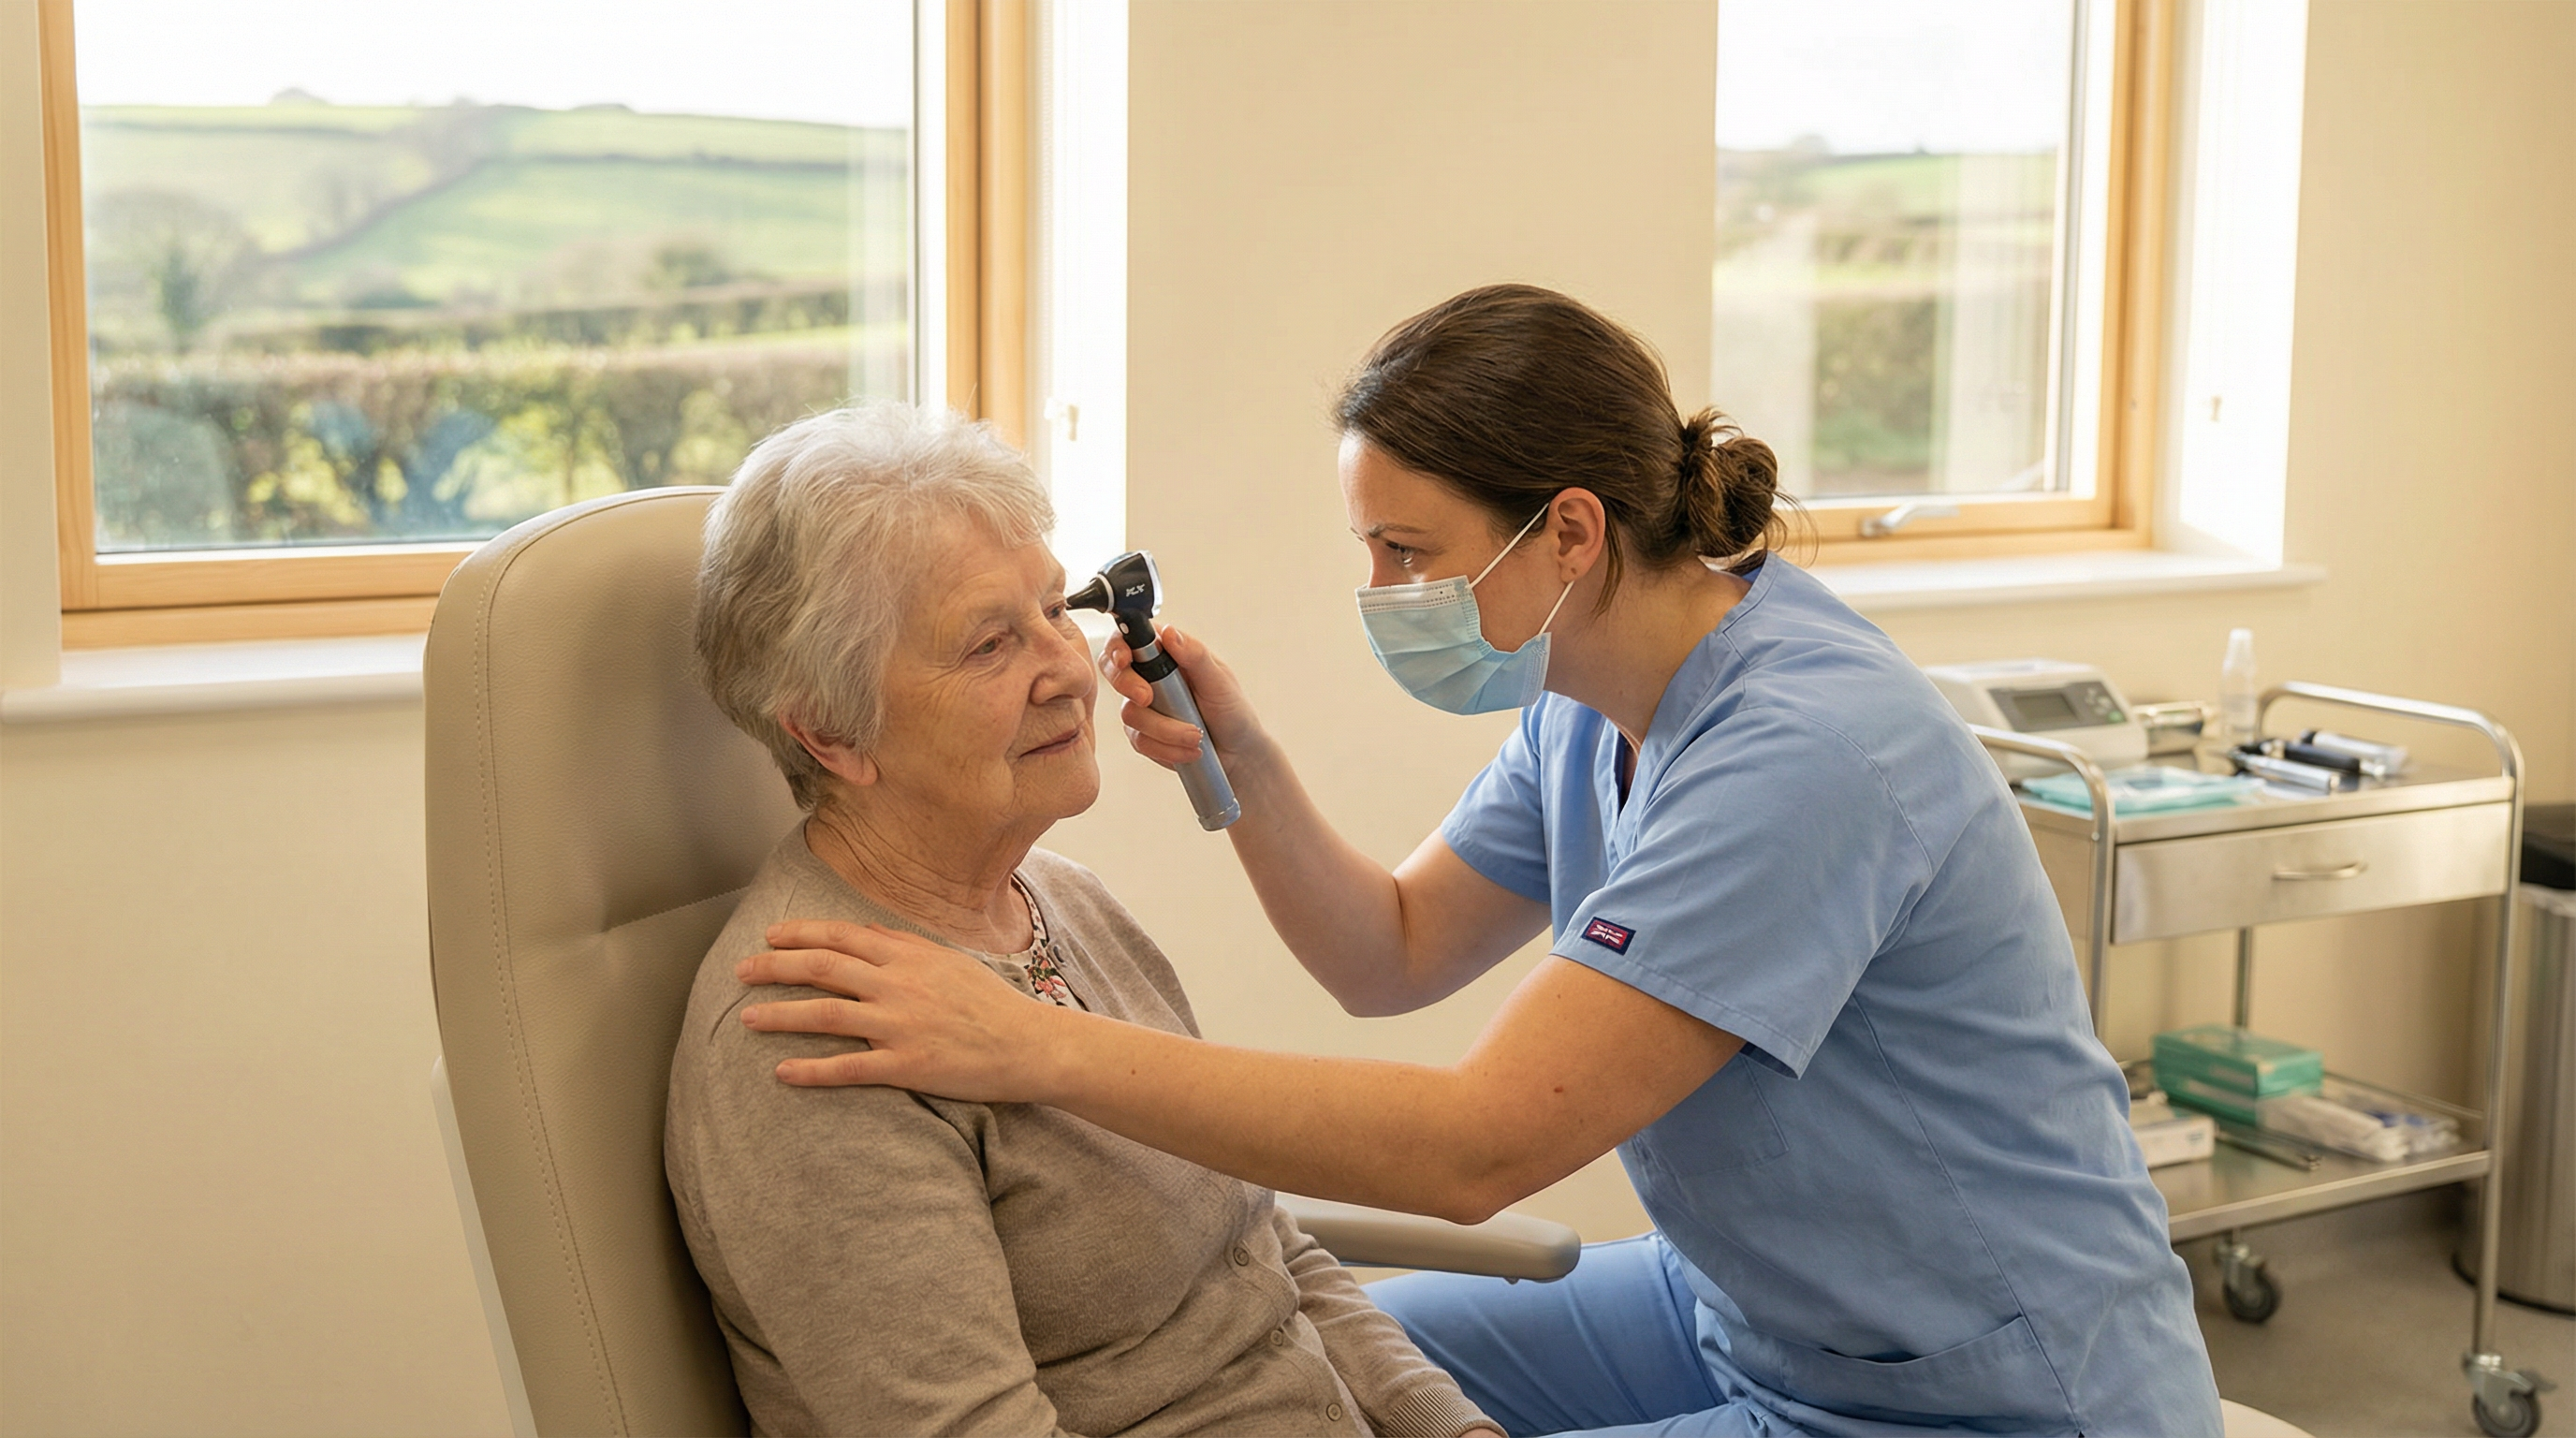
When Might It Be Appropriate? And When Should You See a Professional?
Look, I get it. You want to be proactive about your health. And in some very specific situations, a bulb syringe might be an option. The National Institute for Health and Care Excellence (NICE) has guidelines on this (NG207, to be precise) [1]. They suggest that self-treatment can be considered, but only after you’ve used ear drops to soften the wax for a few days. And even then, it’s not for everyone.
When to Stop and Seek Help
You should absolutely not attempt to use a bulb syringe if you:
- Have a history of eardrum perforation
- Have had ear surgery in the past
- Have a current or recent ear infection
- Experience any pain, dizziness, or sudden hearing loss
In any of these cases, you need to see a professional. It’s just not worth the risk of making things worse.
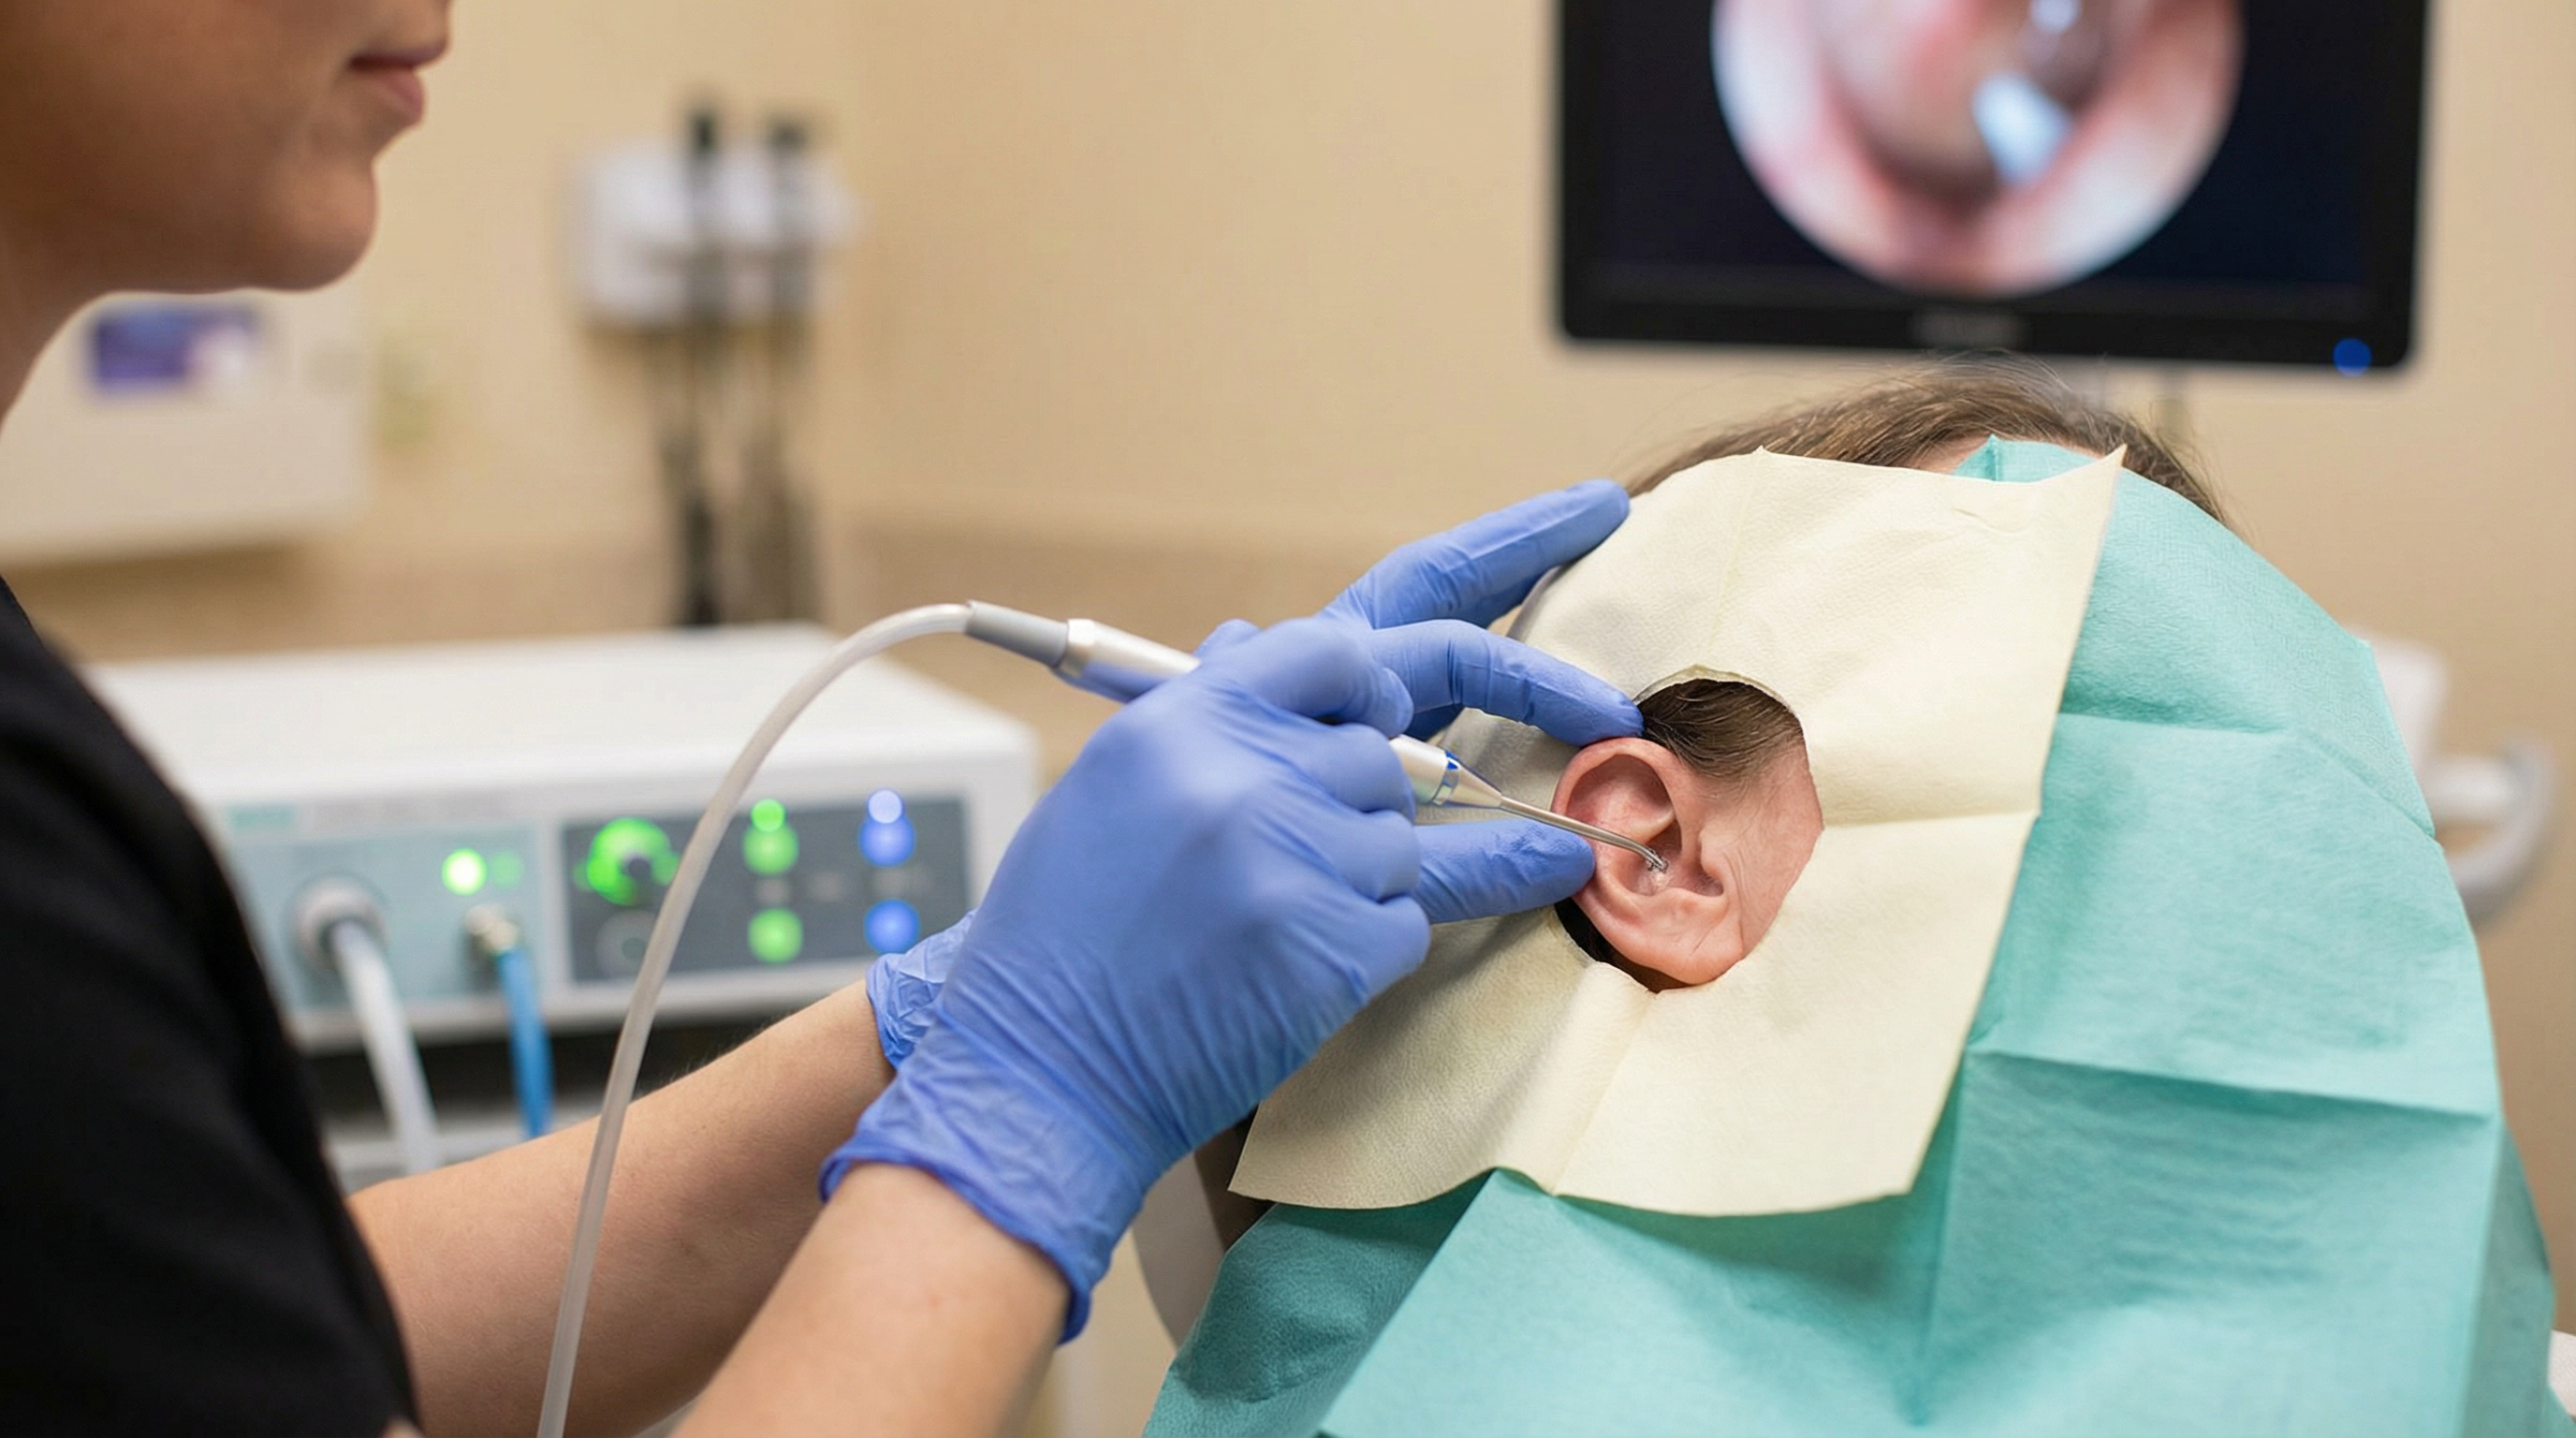
Professional Irrigation vs. Bulb Syringe: What’s the Difference?
This is a really important distinction. When you come to a clinic like Earwax Removal Devon, the irrigation we perform is very different from what you can do at home with a bulb syringe.
| Feature | Bulb Syringe (At Home) | Professional Irrigation (In Clinic) |
|---|---|---|
| Pressure Control | Manual and inconsistent | Controlled and adjustable by a trained professional |
| Water Temperature | Hard to regulate | Precisely controlled to body temperature for safety and comfort |
| Visualisation | None – you’re working blind | The clinician can see inside your ear canal throughout the procedure |
| Safety | High risk of complications | Low risk, performed in a clinical environment |
| Effectiveness | Can push wax deeper | Highly effective at removing even impacted wax |
Think about it this way: we’re using a specialised machine that delivers a controlled flow of water at the perfect temperature, all while looking directly into your ear canal with a magnified viewer. It’s a clinical procedure, not a DIY hack. We can see exactly what’s going on and adjust our technique accordingly. You just can’t replicate that level of safety and precision at home.
The NICE Guidelines on Self-Treatment
NICE guideline NG207 is clear that professional earwax removal is the gold standard when wax is causing problems [1]. While it mentions self-treatment as a possibility, it’s with some pretty big caveats. The guidance is really there to say that if you’re going to try anything at home, it should be gentle and you should know when to stop. It’s not a green light to start aggressively syringing your own ears.
At Earwax Removal Devon, we follow these guidelines to the letter. We believe that your hearing is too precious to take chances with. That’s why we offer safe, effective, and professional earwax removal services, including microsuction and ear irrigation.
If you’re struggling with what you think might be earwax, don’t risk making it worse. Let a professional take a look. We can assess your ears safely and recommend the best course of action for you.
Ready to get your hearing back to its best? Give us a call on 01769 302119 or book online to make an appointment with Eleni, our qualified ear care specialist. We’re here to help.
References
[1] National Institute for Health and Care Excellence. Quality statement 1: Earwax removal. Hearing loss in adults: Quality standard QS185. Published 10 July 2019. Available from: https://www.nice.org.uk/guidance/qs185/chapter/quality-statement-1-earwax-removal